It's been a wild and crazy year for us, but I've still been finding time to create cards and some scrapbook pages. Just haven't had a chance to get them uploaded here on my blog.
So I wanted to post a photo tutorial today to make up for my absence. :)
To create the cloud background, I quickly hand cut a cloud shape from scrap cardstock.
Then I placed it on the yellow cardstock and used a foam blender tool to rub some turquoise ink over the edges.
To create an entire background, I just moved the cloud shape across the yellow card base and inked around it.
When you remove the cloud template, and fill up the entire card base, this is what you end up with.
I decided the clouds needed a little definition, so I used a black extra thin sharpie marker to quickly sketch in cloud outlines. I didn't worry about how neat these lines were- the messier the better. :) That's what makes it fun.
Here's what the background looked like when I got finished with it.
Along the bottom of the card, I added three strips of washi tape. I used light blue, turquoise and green since I was going for a "beachy" look.
When I've used washi tape in the past on my cards, the ends tended to come unstuck after a little while. This is what I did to fix that. :)
I used my ATG adhesive along the back side of the card, then wrapped the washi tape over top. No more washi tape peeling up off the back of my cards! :)
I love stamping my sentiments on thin strips of cardstock. I also cut my sentiment stamps apart to be able to use them in various ways on my cards and layouts.
I line my stamps up in a straight line on the stamp press and then ink them up and stamp them on my strip of cardstock. The benefit of using the stamp press is you can line up the sentiment with the paper before you press it down to stamp.
Love how these look stamped on the tiny strips of paper. These are about 1/4' wide. I just trim the edges down to fit my project. On this card, I cut a little "v" shape out to make a banner edge.
To blend the white sentiment in with my card, I use the foam blender tool and edged it with the same turquoise inkpad color. This sentiment was then glued down on top of the washi tape layers.
Since I just can't leave well enough alone... lol.... I decided to add some sparkle to my clouds. I used the Wink of Stella clear brush marker to quickly sketch some glitter onto my clouds. Loved how it turned out!
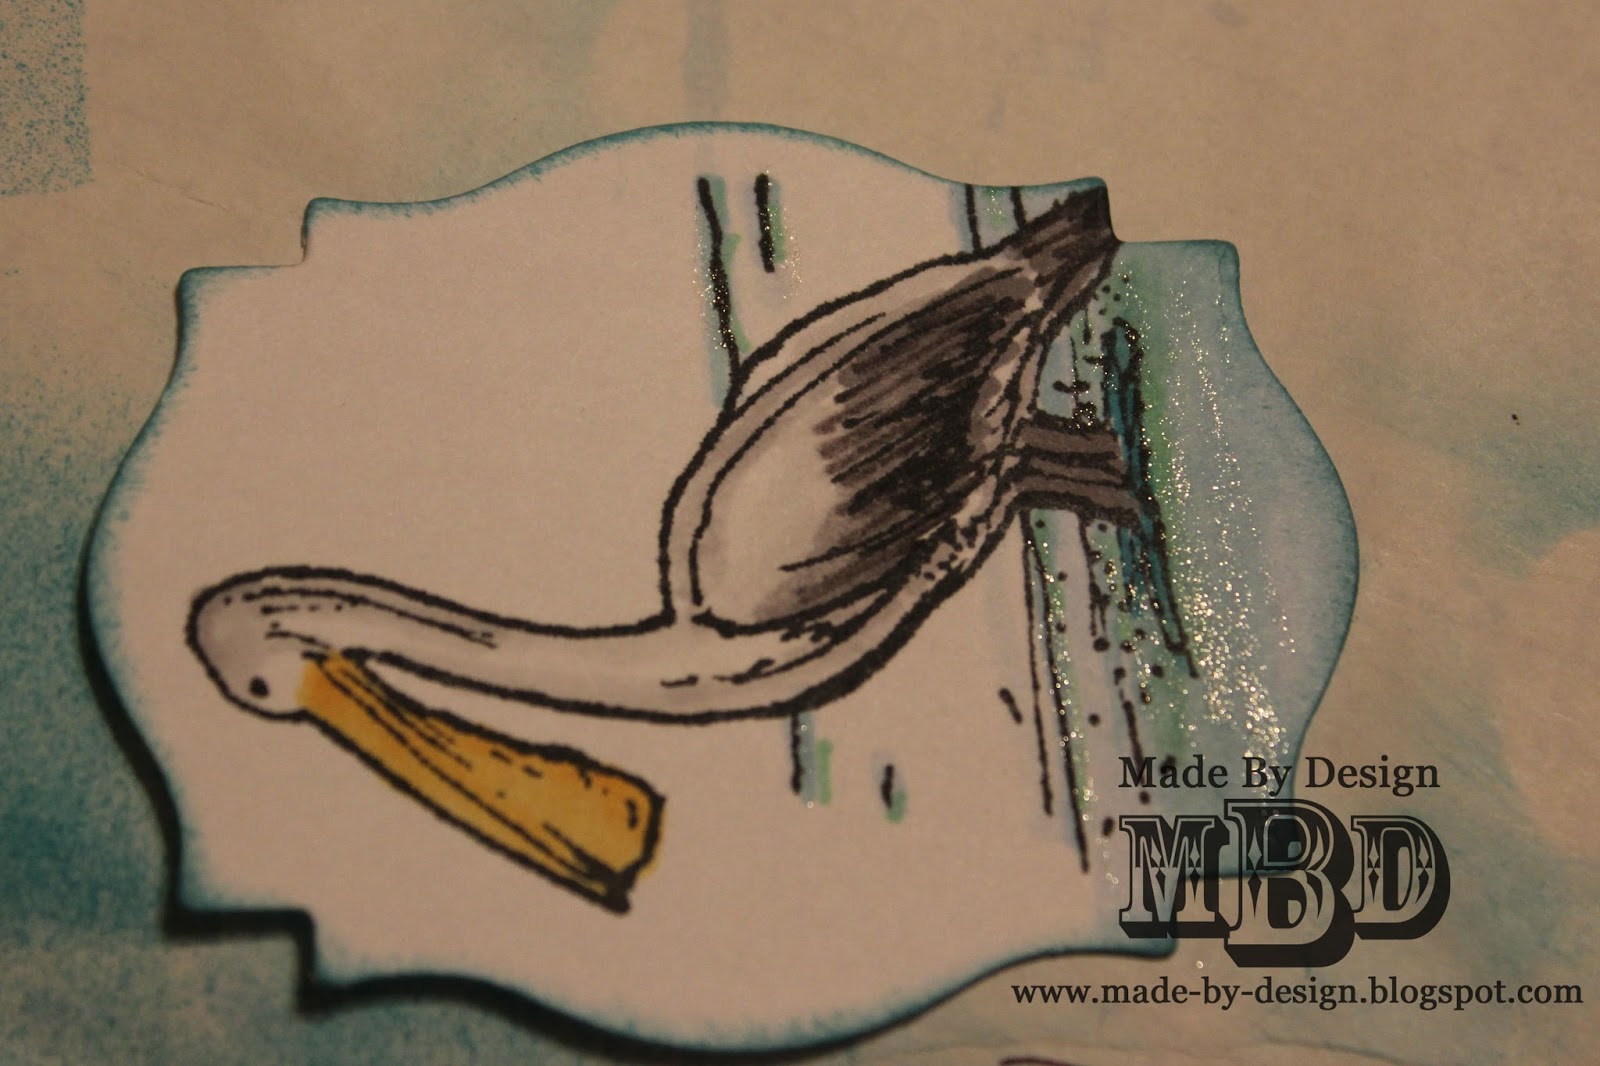
I didn't get pictures of the coloring steps, but I used my promarkers to color the pelican and die cut the image with a nestabilities frame, inked the edges with the turquoise ink and added some sparkle with the Wink of Stella glitter pen. The sparkle reminded me of the whitecaps on waves.
I attached the pelican image with foam tape to give the card a little dimension.
Here's the finished card...hope you can see all the glitter that was added to the clouds.
And glitter added to the water. It is just stunning in person, but hard to capture with a camera.
I'll be posting some more cards and tutorials soon, so be sure to check back again often!
Supplies Used:
Georgia Pacific: White Cardstock
Bazzill: Yellow Cardstock
Tsukineko: Memento Inkpad (Tuxedo Black)
Ranger: Distress Inkpad (Peacock Feather); Foam Blending Tool
Letraset: Promarkers/Flexmarkers (Duck Egg, Glacier Blue, Surf Blue, Marine, Mint Green, Mustard, Gold, Icy Grey 1, Icy Grey 3, Icy Grey 5, Black, Blender)
Spellbinders: Nestabilities Dies (Labels 18)
Zig: Wink of Stella Brush Glitter Pen (Clear)
My Minds Eye: Washi (Blue Chevron)
Pick Your Plum: Washi (Green, Turquoise)
Foam Tape


.jpg)